Sometimes there might be a lot of similar links on your websites that you’d like to track as a “Click” event and see reported in Google Analytics. These can be clicks on your Social Media buttons (e.g. Facebook, Instagram, TikTok, etc), on your contact forms or any group of similar links. However, if you have a lot of buttons under one category, it will get tedious to create tags individually for each event. We’d like to show you how to save time by using Google Tag Manager’s (GTM) Lookup Table and RegEx Table variables.
Pre-requisite before starting
All you need to do is ensure that Google Tag Manager is properly installed on your websites! Then we’ll begin by creating variables, triggers, and tags. You can follow the steps outlined below.
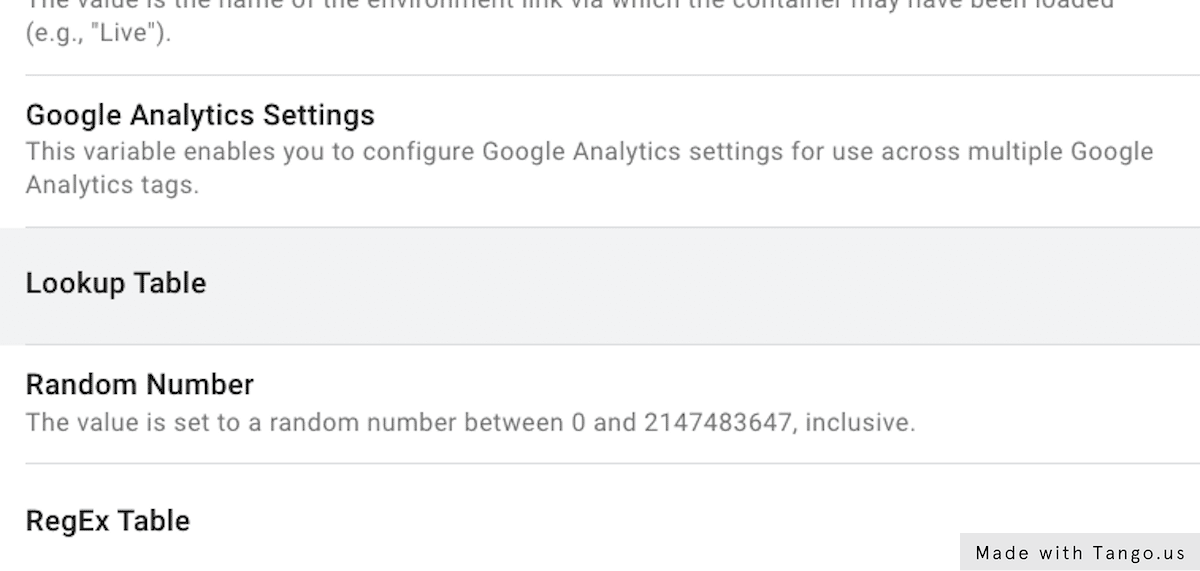
Create variables – Google Tag Manager Lookup Table
A Google Tag Manager Lookup Table is a variable that will allow you to pair values from one variable with your desired value. So we can decide which link clicks to track and which value to return here.
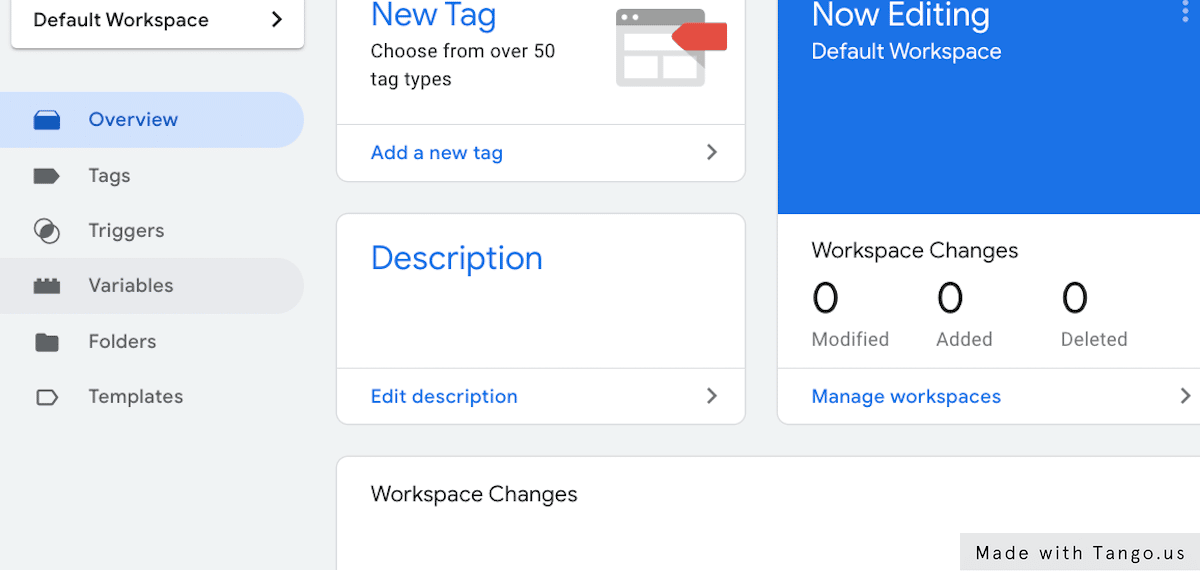
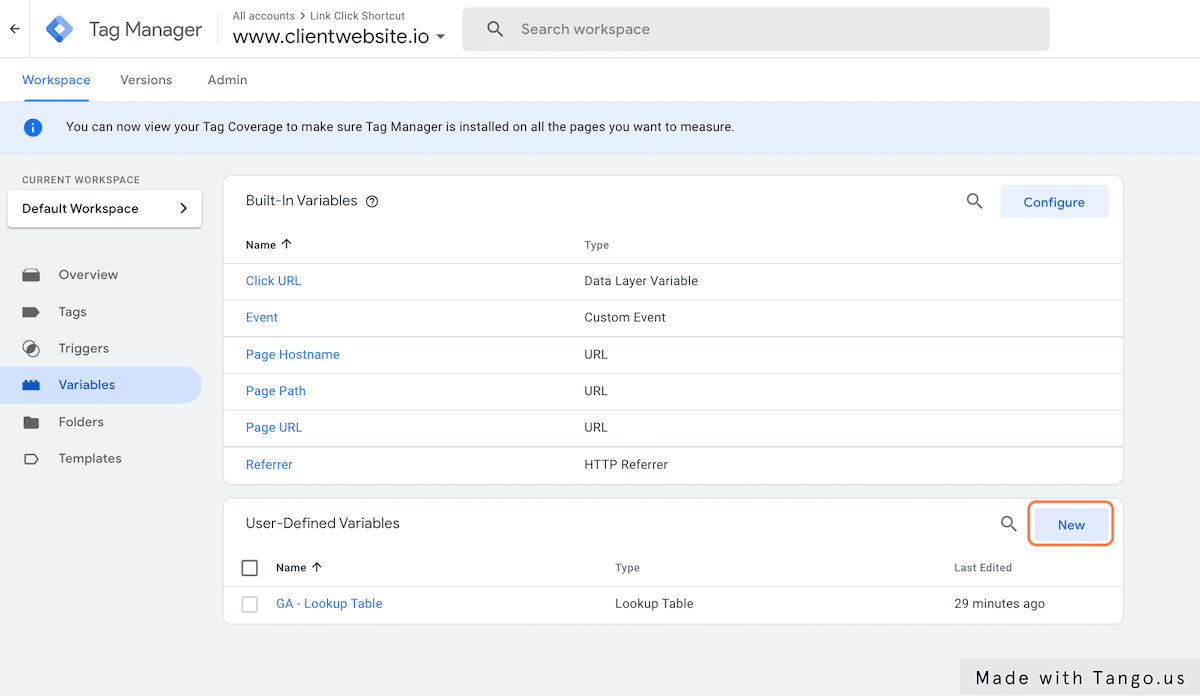
1. Click on Variables
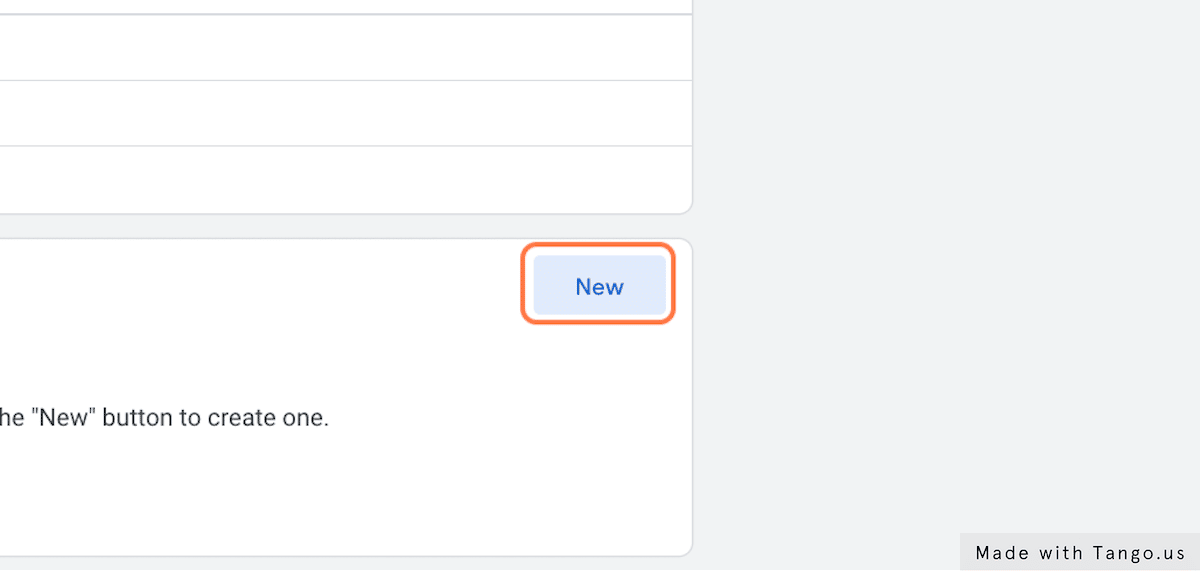
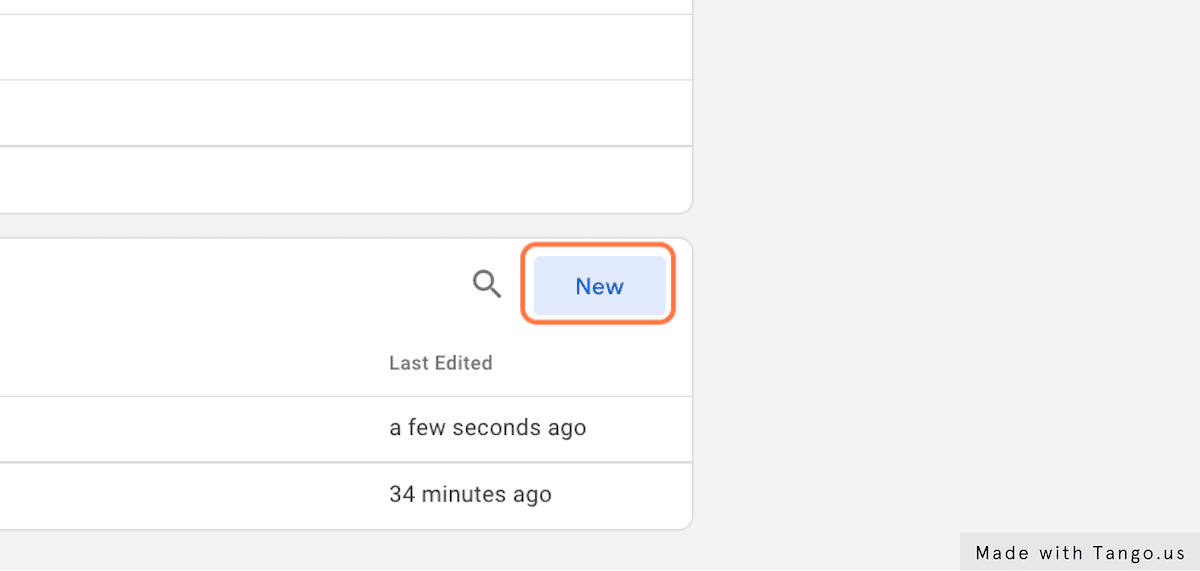
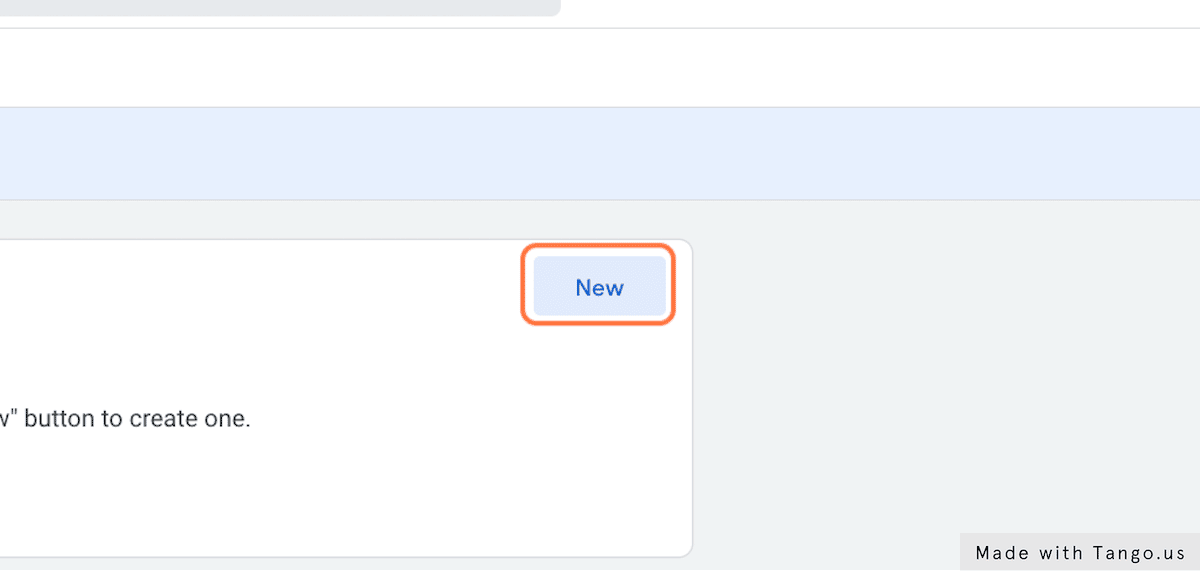
2. Click on New
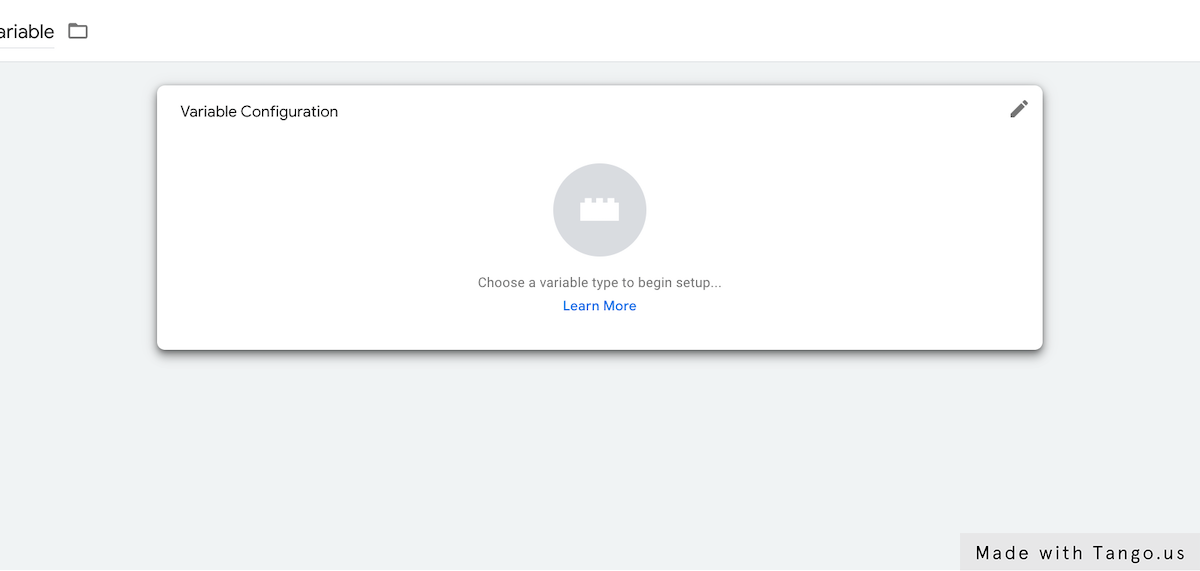
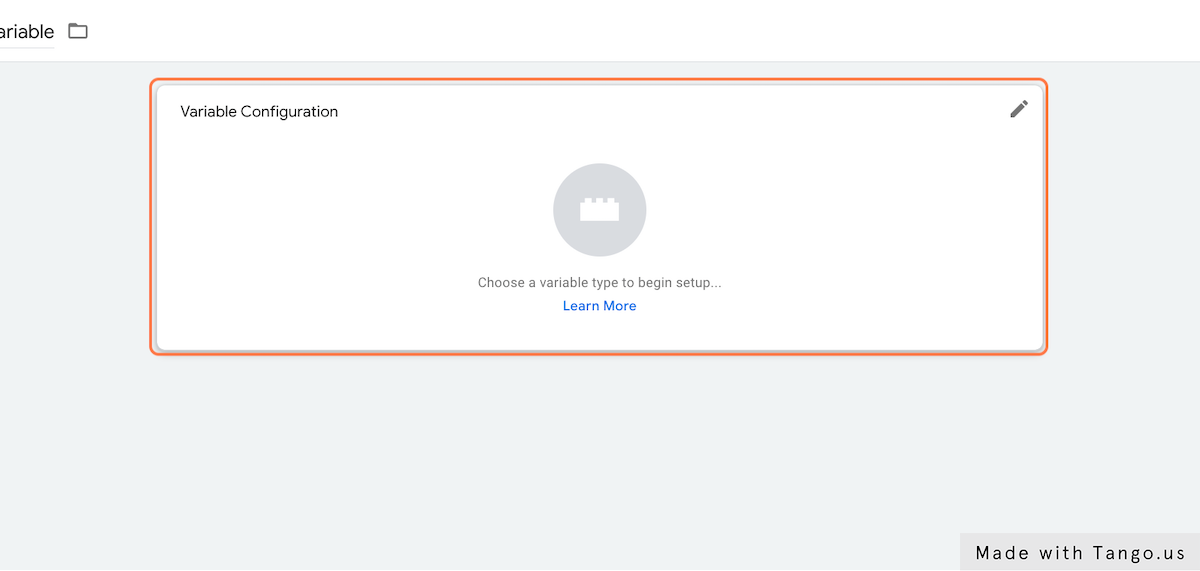
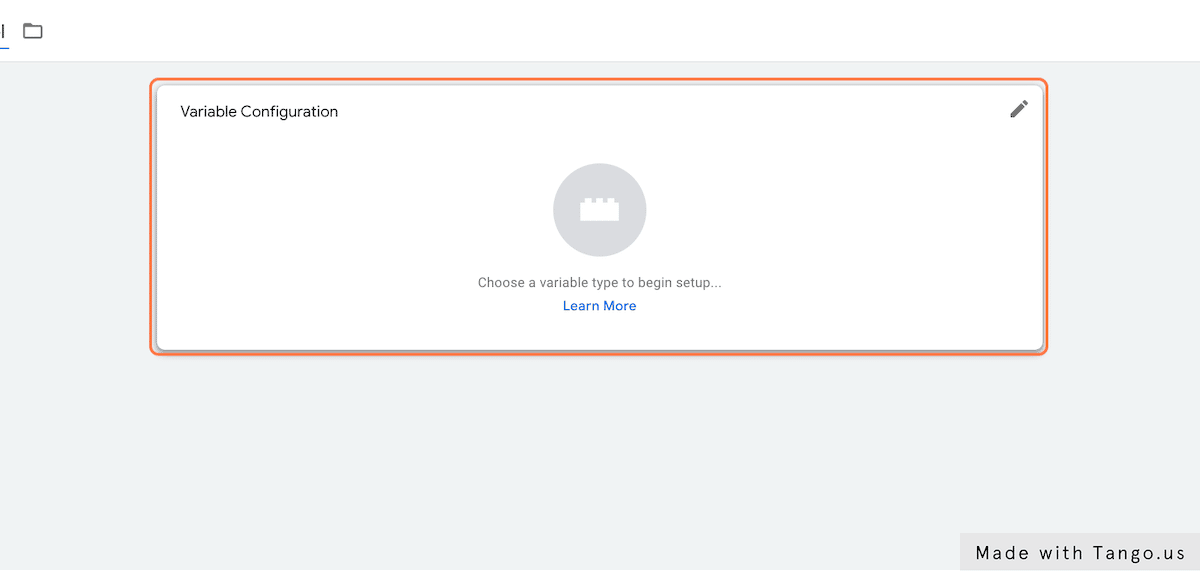
3. Click on Variable Configuration
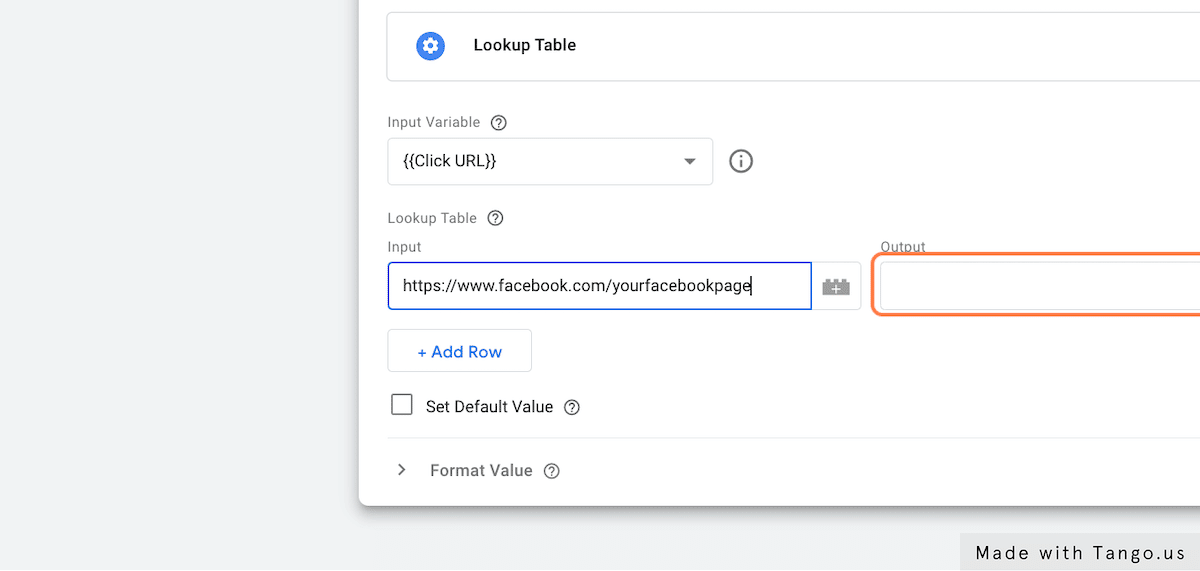
4. Click on Lookup Table
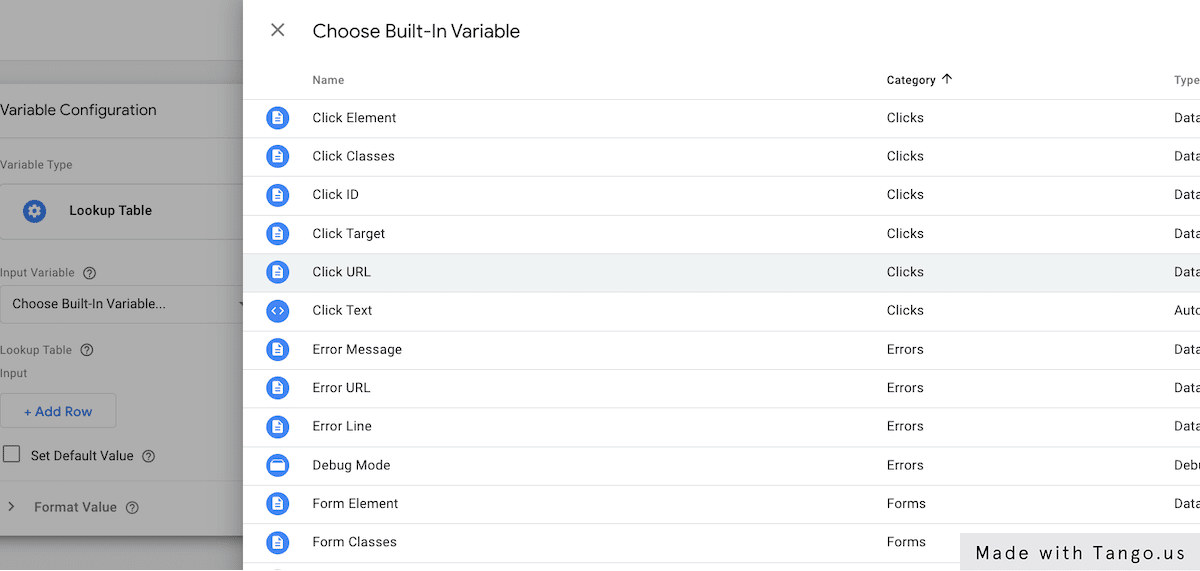
5. Select Choose Built-In Variable from Input Variable
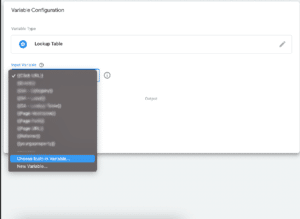
6. Click on Click URL
This built-in variable, Click URL, will display the URL of the page where the button was clicked. This is where we indicate which link click to create as an event.
7. Click on + Add Row
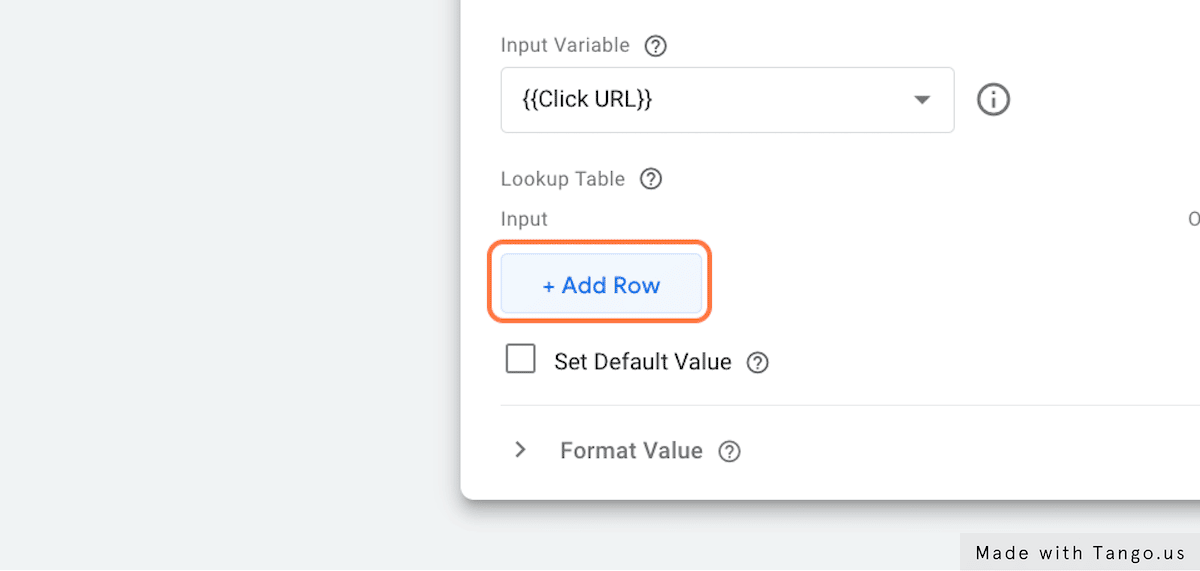
8. Type the URL of any link clicks you’d like to track into Input
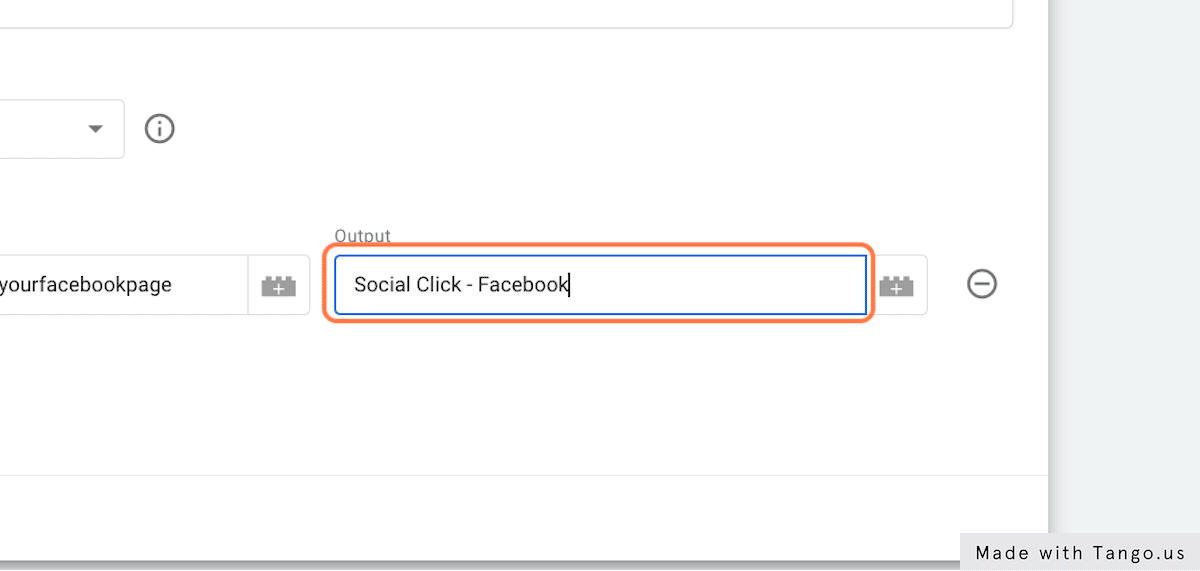
9. Type “Social Click – Facebook” into Output
Here, I like to set my naming convention by categorizing and destination, and the separator will be a dash symbol (-). For example, I name click to my Facebook page as “Social Click – Facebook.” The category is “Social Click” and the destination is “Facebook”
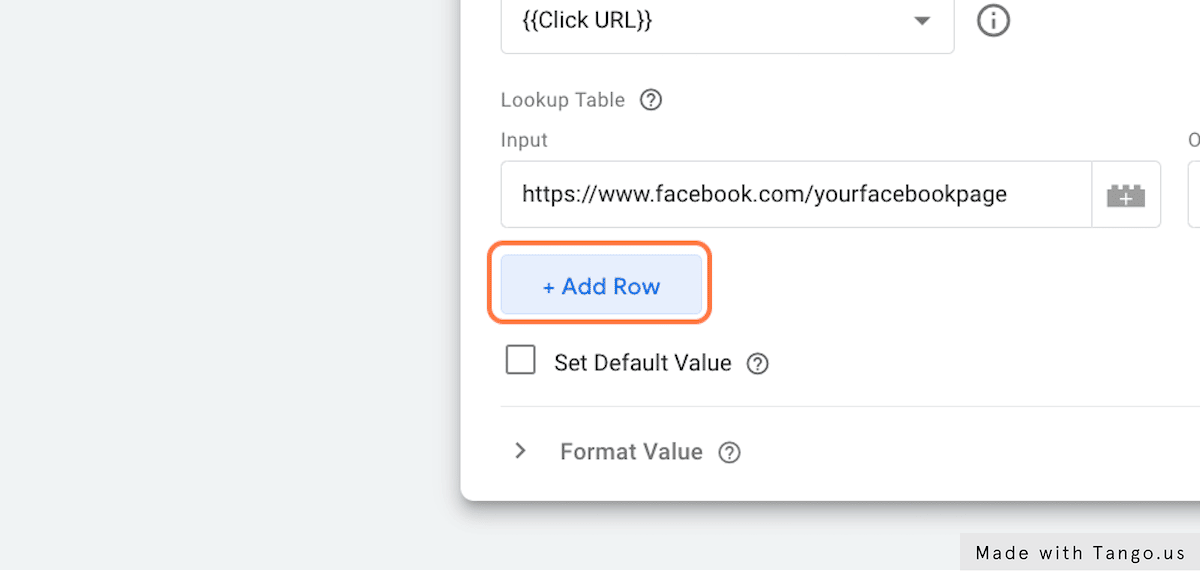
10. Click on + Add Row
If you have several link clicks to other websites, you can fill in more by clicking Add Row
11. Name your variables and click “Save” – Here I name it “GA – Lookup Table”

Create variables – RegEx Table
In Google Tag Manager, a RegEx Table is used to determine whether or not an input pattern matches and, if so, to return the corresponding output value.
1. Click on New
2. Click on Variable Configuration
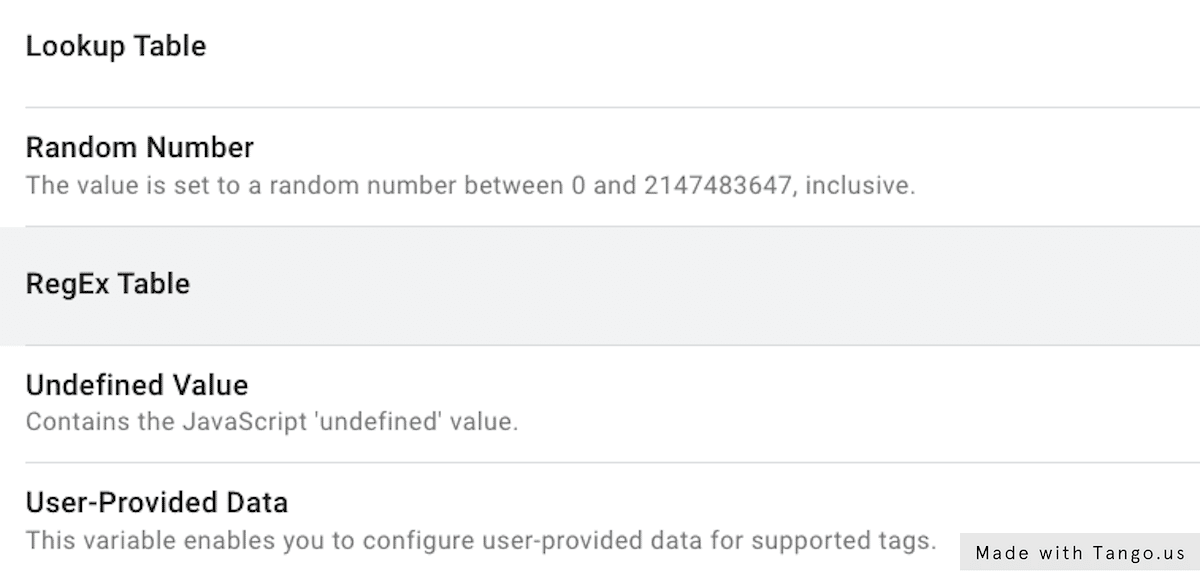
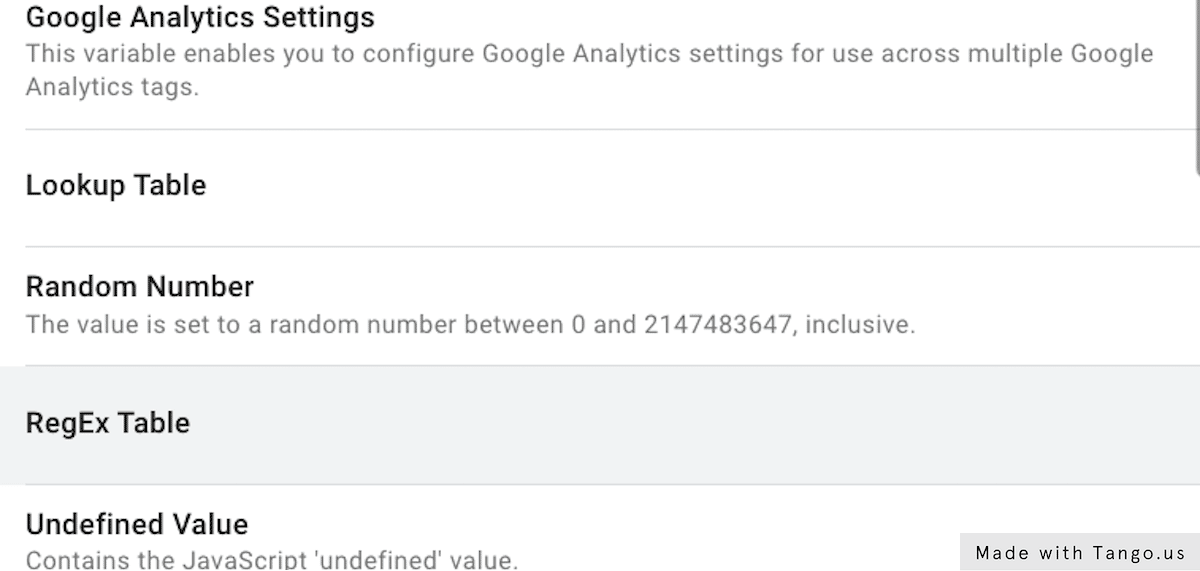
3. Click on RegEx Table
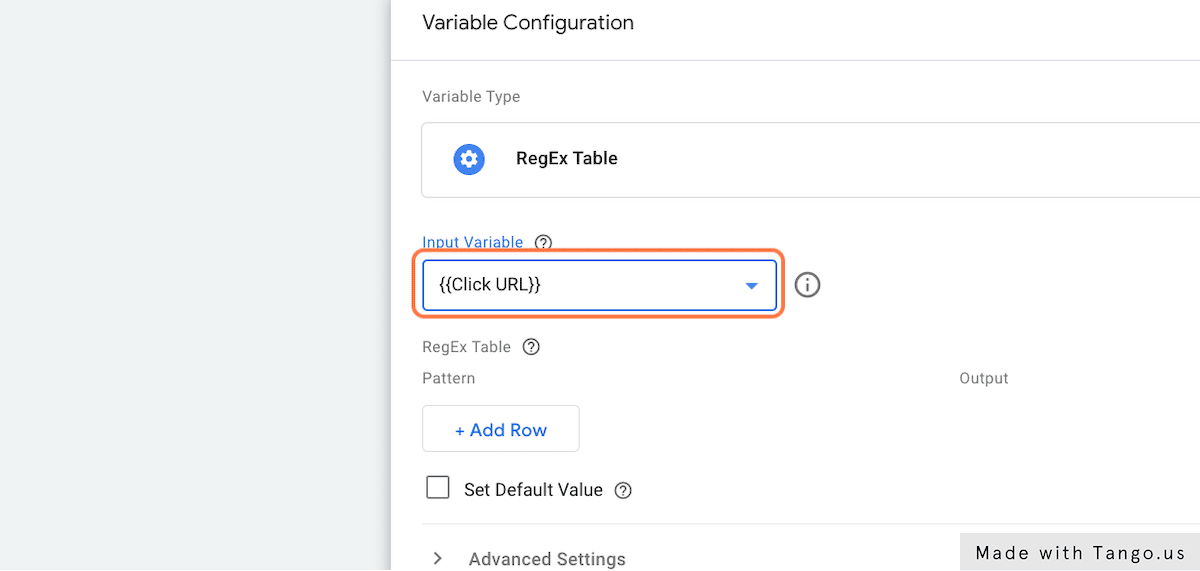
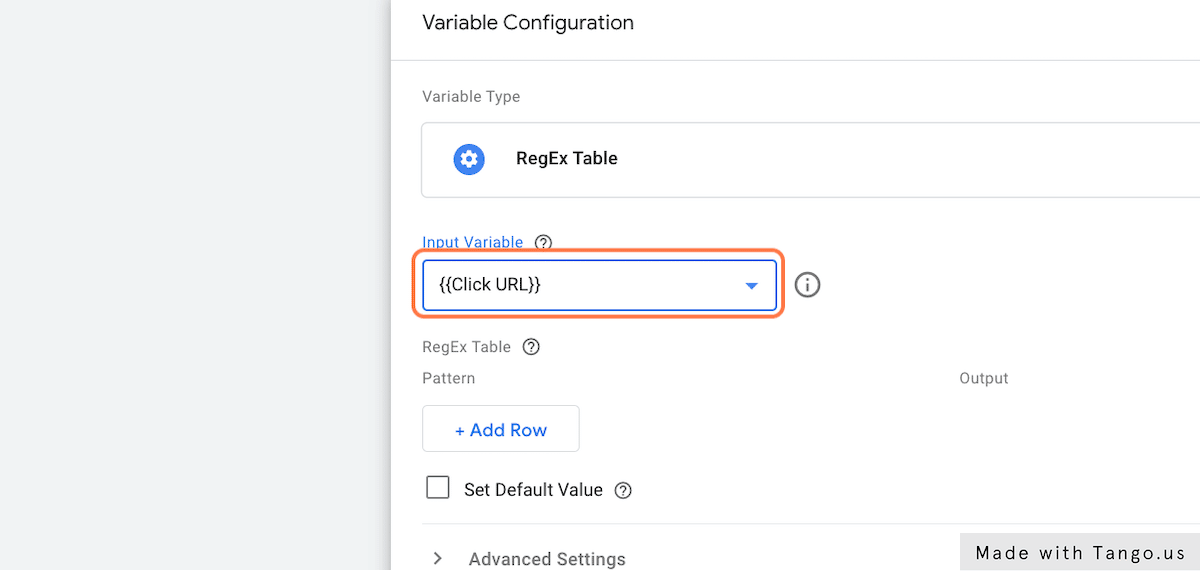
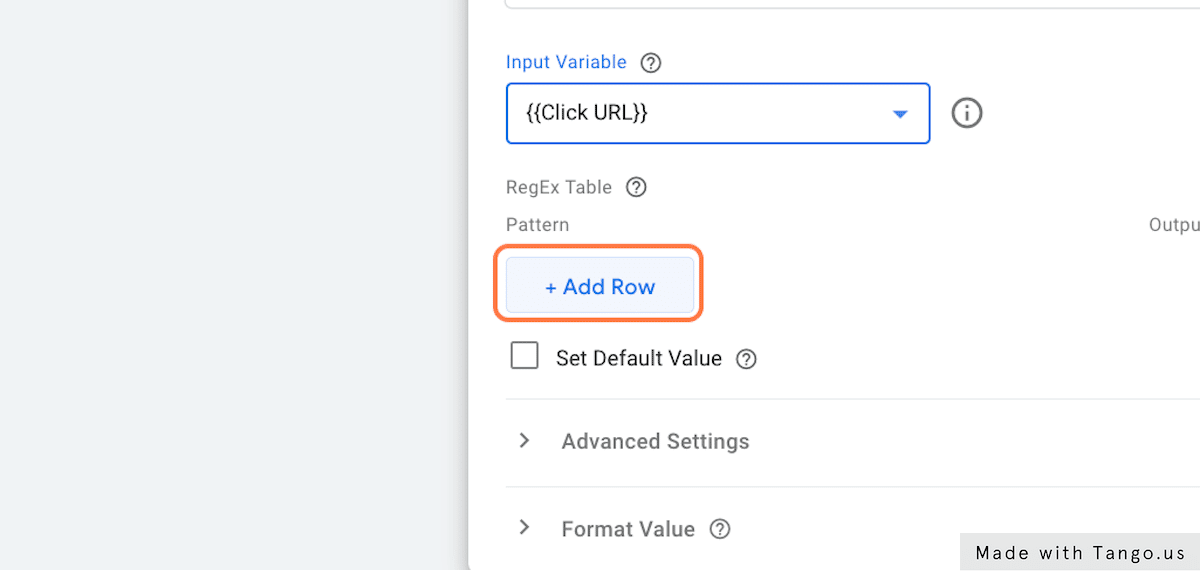
4. Click on {{Click URL}} from Input Variable
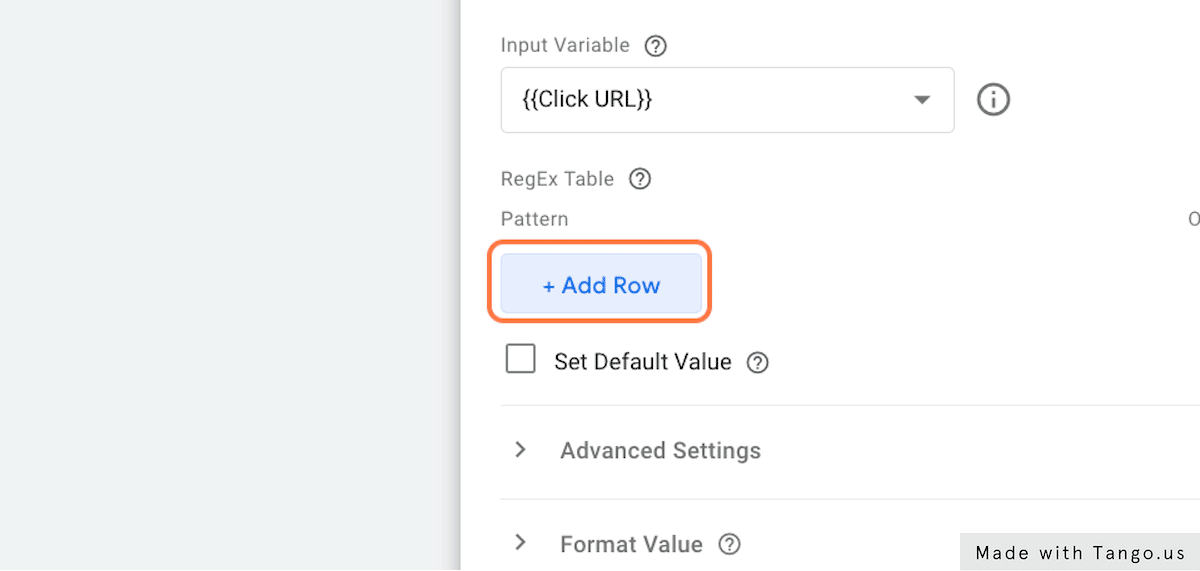
5. Click on + Add Row
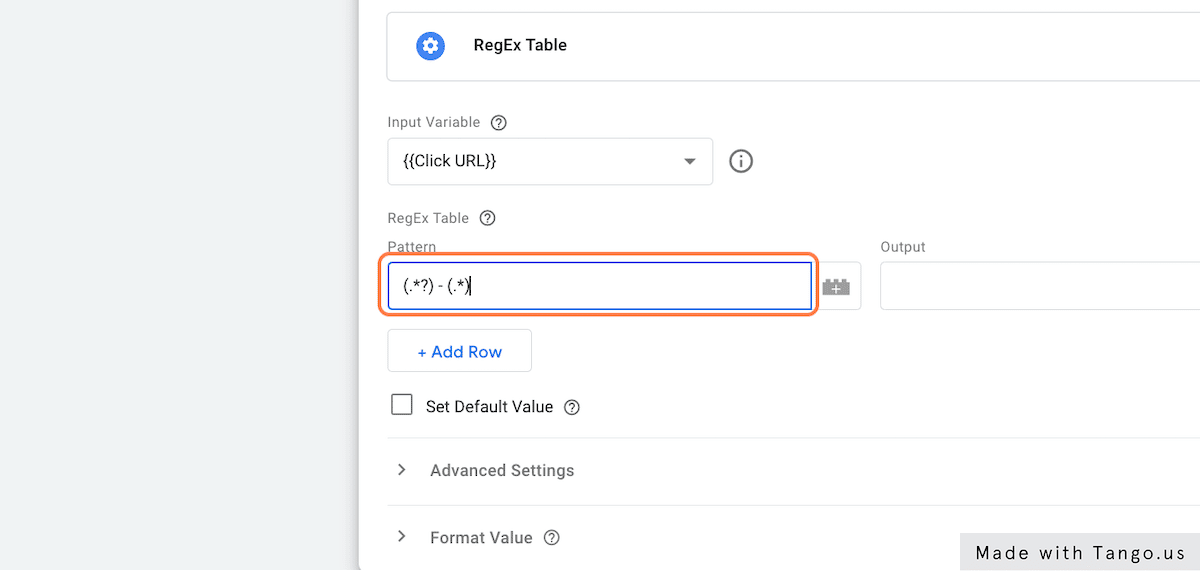
6. Paste “(.*?) – (.*)” into input
This is a regular expression that contains 2 capturing groups which are (1) 1st capturing group (.*?) means to match any character until the next delimiter and (2) 2nd capturing group (.*) means to match any character until the end of string, this will ignore the next delimiter. For a dash (-) matches the character (-) literally.
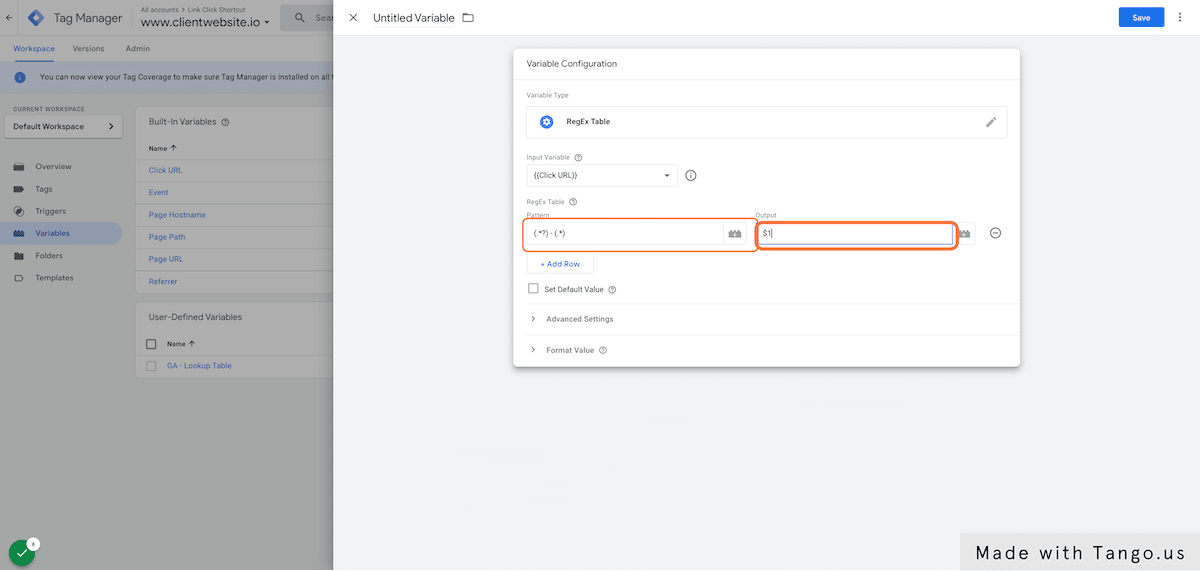
7. Type “$1”
If you remember from creating Lookup Table, we have defined the naming convention with a dash (-) separator. $1 here is equivalent to the text before the separator so this variable will return any value before the dash
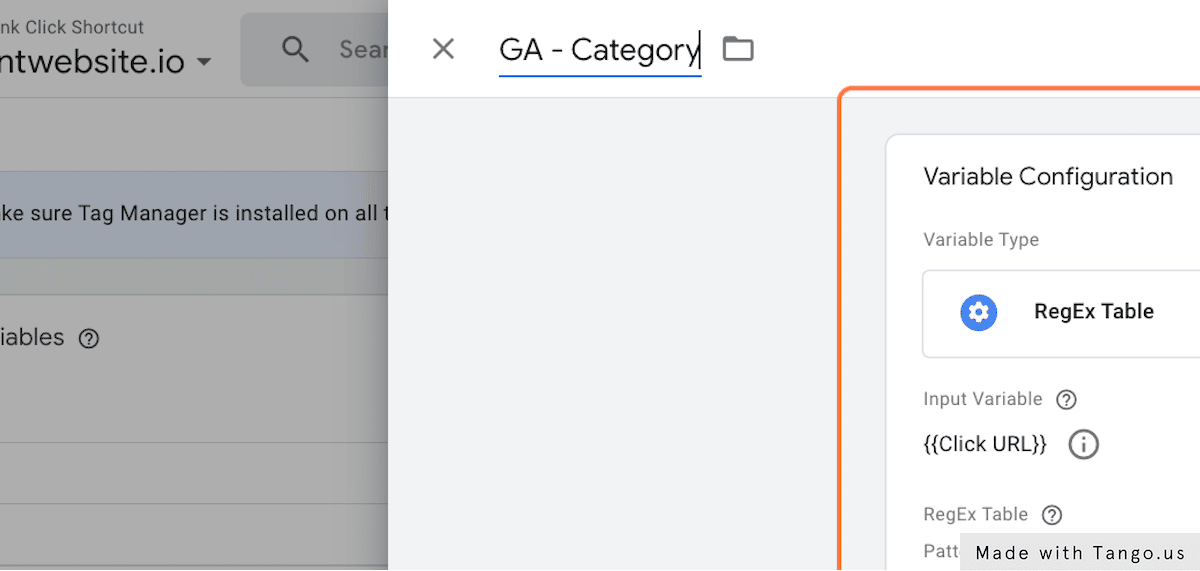
8. Name the variable – Here I name it “GA – Category”
9. Click on Save
10. Again, click on New to create RegEx Table for the label
11. Click on Variable Configuration
12. Click on RegEx Table
13. Click on {{Click URL}} from Input Variable
14. Click on + Add Row
15. Paste “(.*?) – (.*)” into input

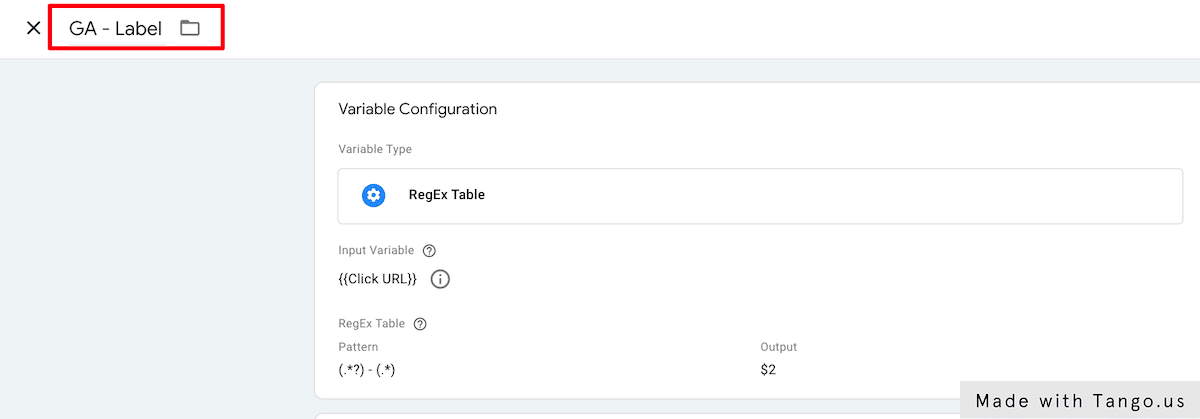
16. Type “$2”
$2 here is equivalent to the text after the separator so this variable will return any value after the dash

17. Name the variable – Here I name it “GA – Label”
18. Click on Save
Create Triggers
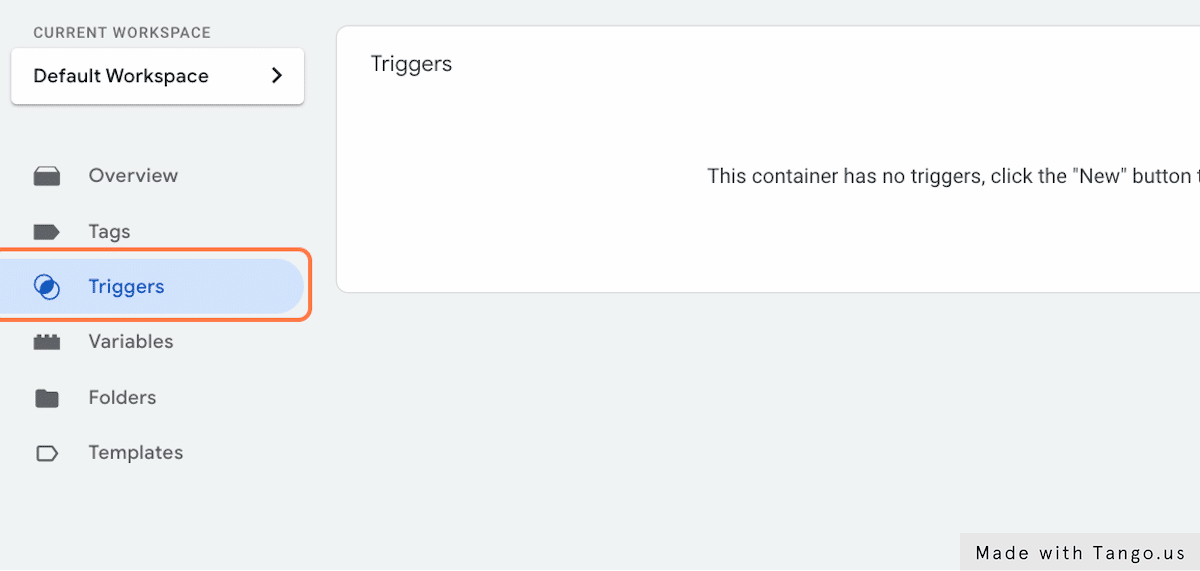
1. Click on Triggers
2. Click on New
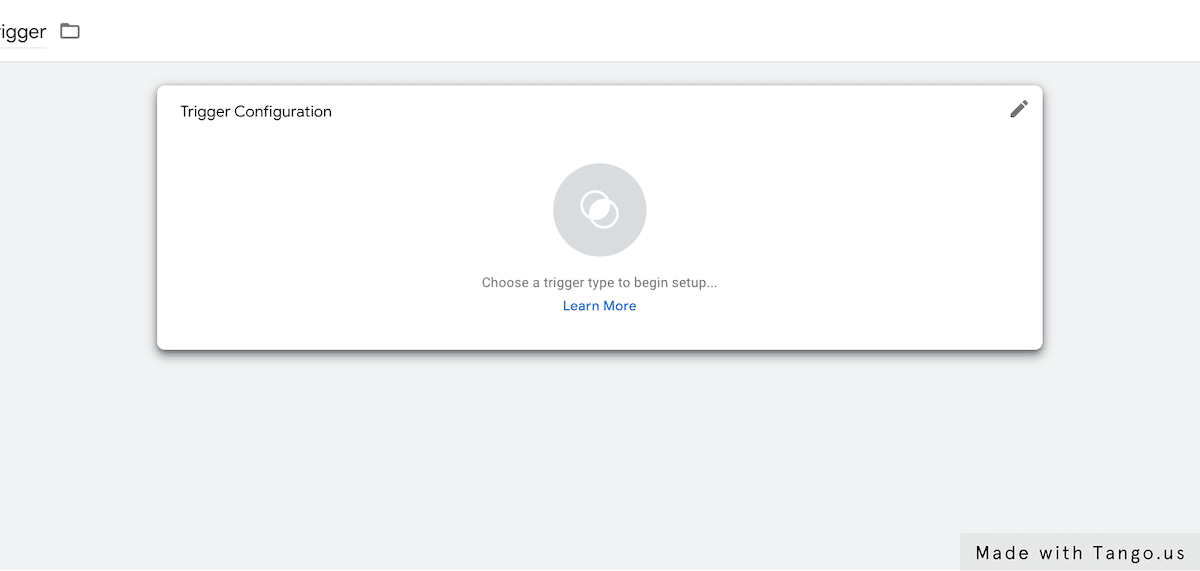
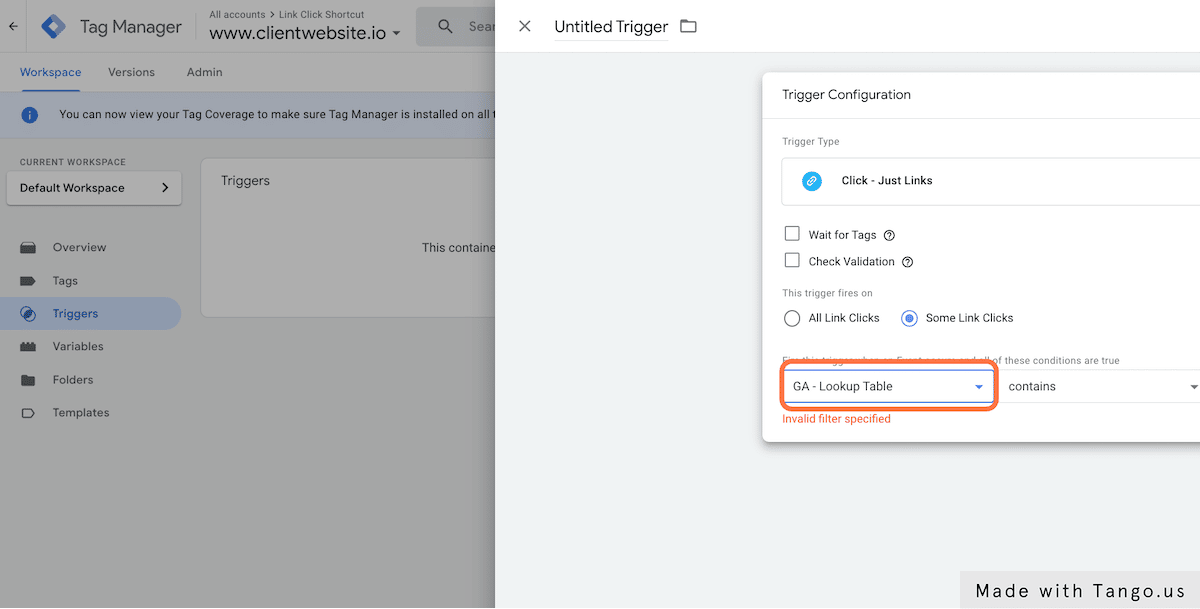
3. Click on Trigger Configuration
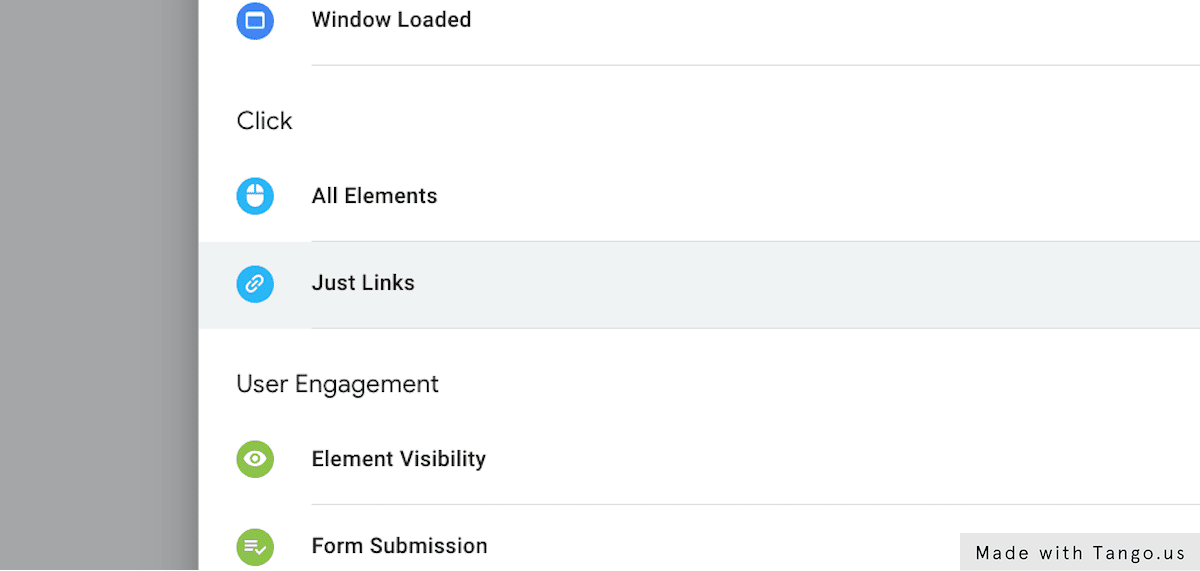
4. Click on Just Links
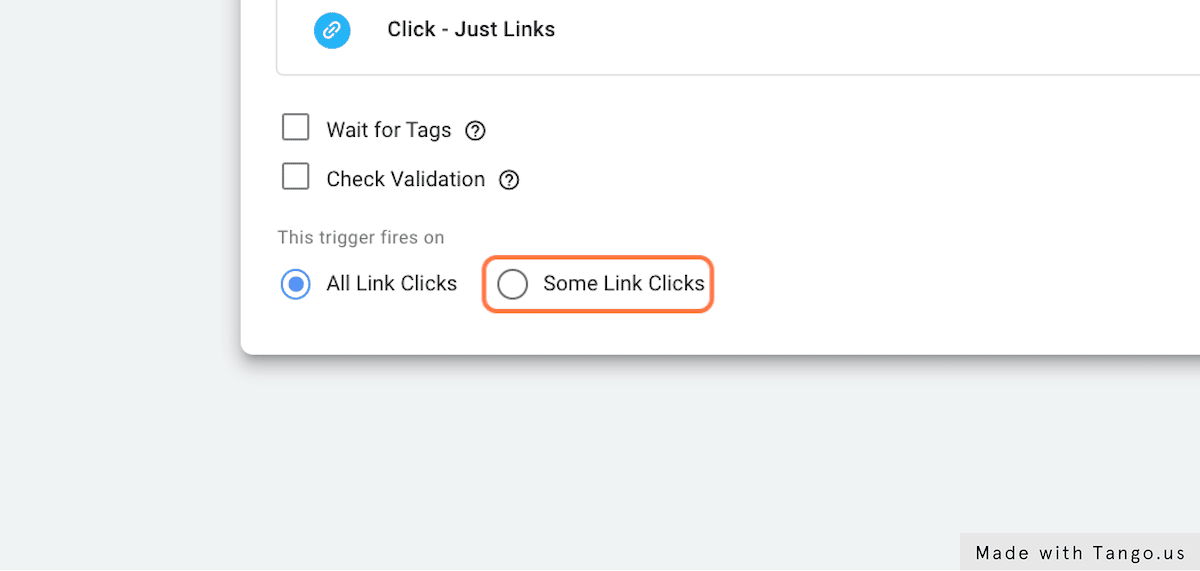
5. Click on This trigger fires on Some Link Clicks
6. Select GA – Lookup Table
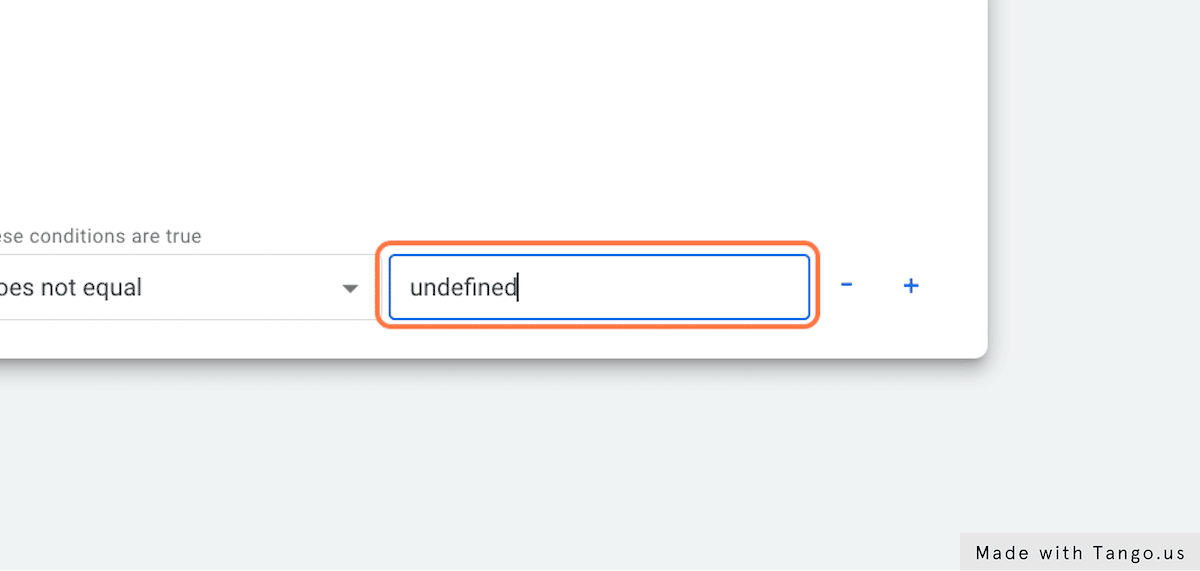
7. Type “undefined” – The operator here should be “does not equal”
This means that any link clicks happen, their {{Click URL}} are in the Lookup Table will be fired
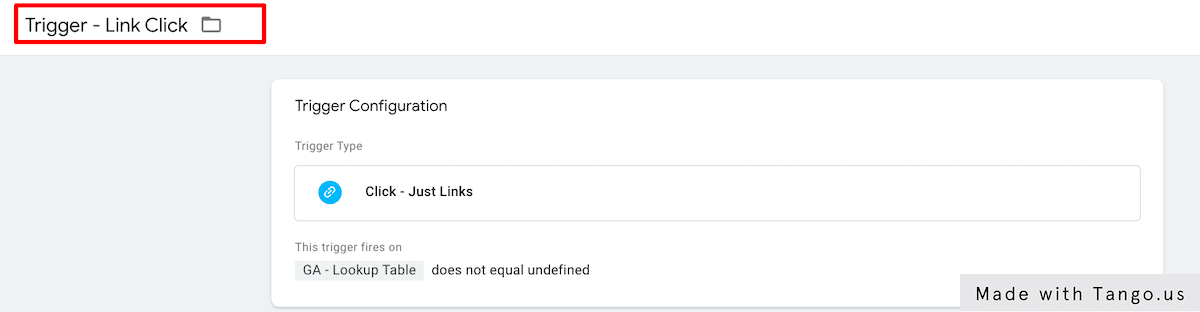
8. Name the Trigger – Here I name it as Trigger – Link Click
9. Click on Save
Create Tags
1. You need to create a tag to send a link click event to Google Analytics by selecting as following:
- Tag Type: Google Analytics: Universal Analytics
- Track Type: Event
- Category: Select from variable {{GA – Category}}
- Action: Click (you can define whatever you’d like here)
- Label: Select from variable {{GA – Label}}
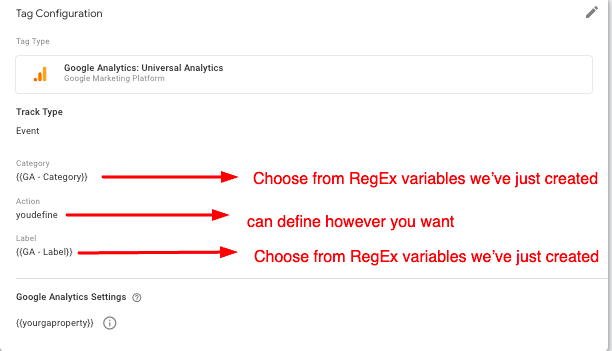
2. This tag needs to be fired on “Trigger – Link Click” so choose this as a trigger of this tag
3. Name your tag and click “Save” – Here I name it “GA – Link Click”
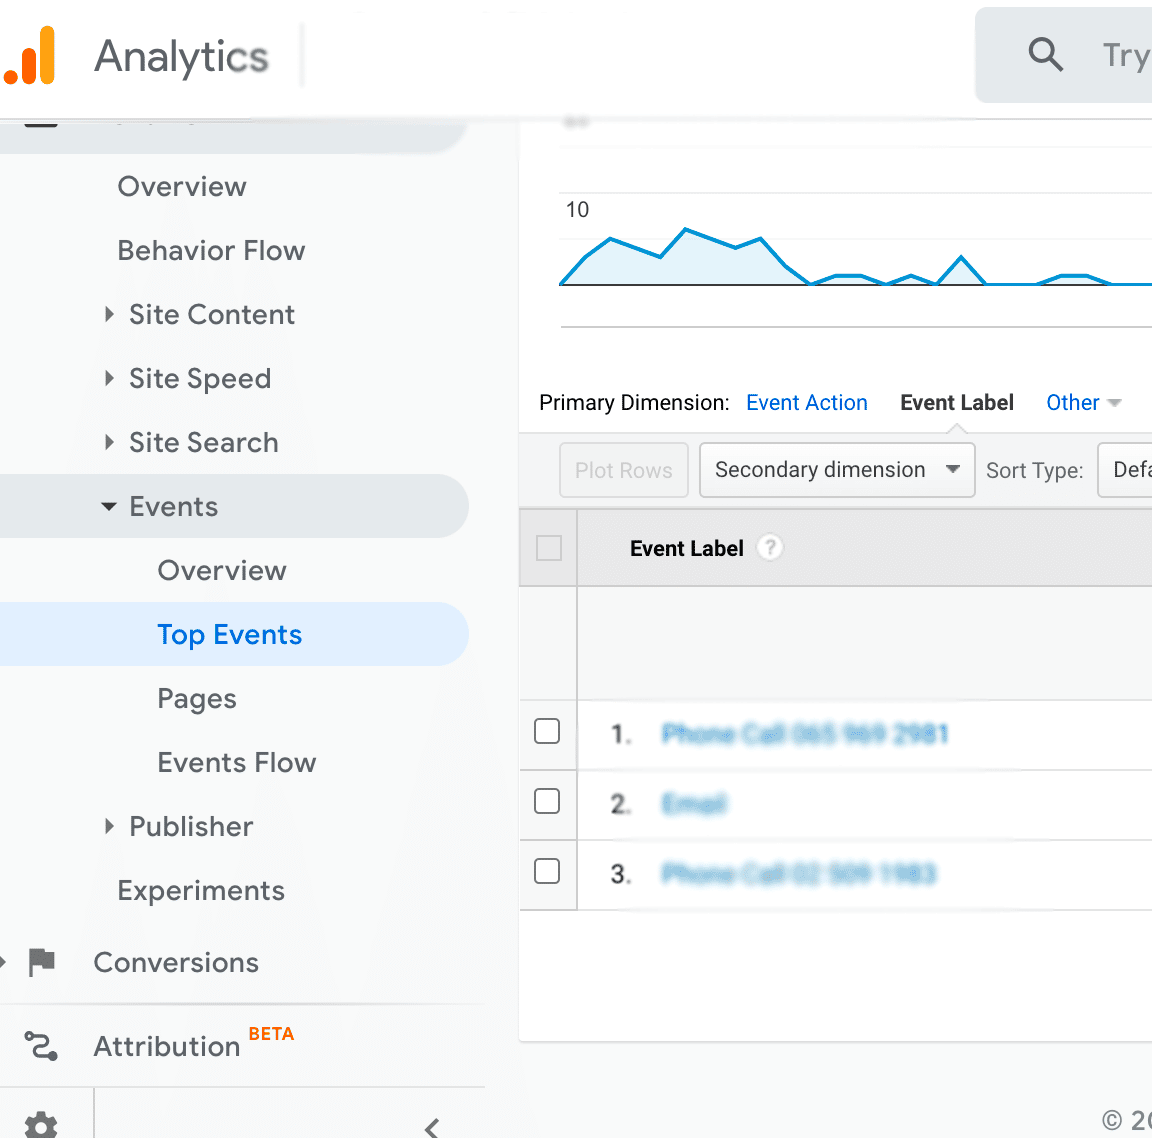
Once you have done your set-up, you will be able to see your event on Google Analytics under the event report!
Bonus – Another shortcut
Free templates that you can use with just a few changes required from you!

Greetings! Very helpful advice within this post! Its the little changes that produce the greatest changes. Thanks for sharing!
Hi i am kavin, its my first time to commenting anywhere,
when i read this paragraph i thought i could also make comment due to this
brilliant post.
I was excited to uncover this great site. I need to to thank you for your time for this particularly wonderful read!! I definitely enjoyed every part of it and I have you book marked to check out new stuff in your web site.
If some one desires expert view on the topic of running a blog after that
i recommend him/her to pay a visit this website,
Keep up the good work.
What’s up, I check your new stuff like every week.
Your story-telling style is awesome, keep it up!
Everything is very open with a very clear description of the issues. It was really informative. Your site is very useful. Thank you for sharing!